Double Pivot Joint Set Steel - ESD
- Adjustable from 0 degrees up to 180 degrees
- Compatible with 28 mm pipes
- Nuts and bolts are included, but packaged separately
- Assembly required
- Joint set with antistatic properties (ESD)
In stock
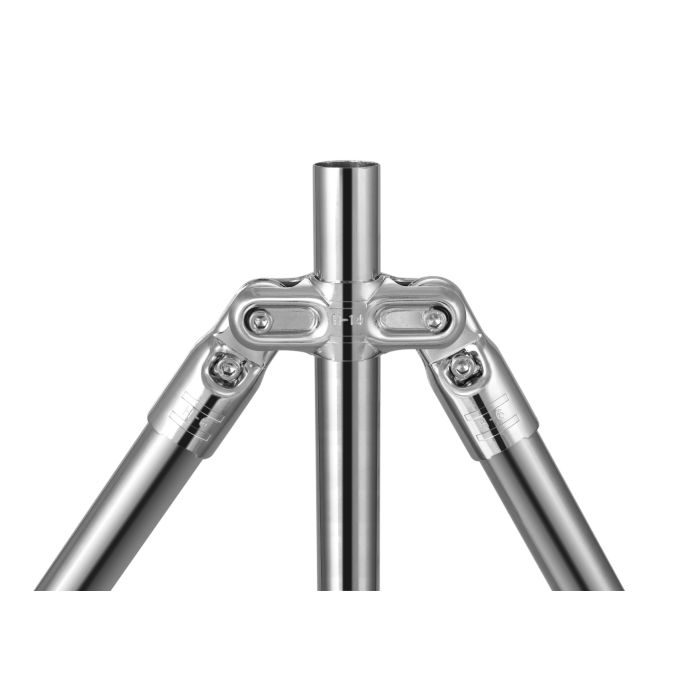
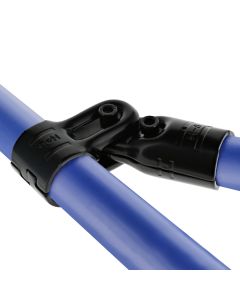
The HJ-14NP is a chrome-plated joint set with antistatic properties (ESD) that allows creating an intersection of three pipes with an adjustable angle on each side of the cross tube.
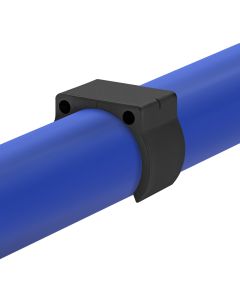
To assemble an HJ-14NP you need to put two H-14NP with four H-6NP, four M6-25BWZ bolts and four M6-NWZ nuts. It is also possible to assemble the HJ-14NP with four H-6ANP's.
Assembly tip:
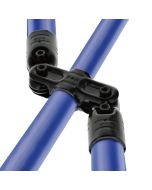
This joint set is very similar to a doubled HJ-6NP. It is frequently used for reinforcing structures, or to create articulations and anchors. This joint set allows each side tube to rotate up to 175 degrees.
Technical Information:
This joint set is designed with 8 striations for a better grip on the plastic coating of the 28 mm pipes. These grips are found on the H-6NP or H-6ANP.
Installation Steps:
See the installation steps tab to view how to assemble this connector.
Non-Electric Conductivity Version:
A version of this joint set is offered without antistatic properties: HJ-14
Want to reuse parts of your old system?
The HJ-14NP Flexpipe joint set is compatible with many other pipe and connector systems. Check the technical information tab to know which systems are compatible and none-compatible with our parts.
Please note that nuts and bolts are included, but packaged separately. Assembly is required.
| Length | 3 13/16 in (97 mm) |
|---|---|
| Height | 1 5/16 in (33 mm) |
| Width | 1 13/16 in (46 mm) |
| Material Thickness | 1/8 in (2.5 mm) |
| Weight | 0.845 lb (0.384 kg) |
| Compatible brand | Creform, Fastube, Trilogique, NIS, C Tek Solutions (28 mm) |
| Non Compatible Brand | Trilogiq (28.6 mm) |
| Primary Material | Hot rolled steel (SPHC) with chrome plating |
| Temperature Resistance | -148°F to 572°F (-100°C to 300°C) |
| Electric Conductivity (ESD) | Yes |
| Manufacturing Technique | Stamping and deburring |
- Ensure you have the following parts:
- Take two H-6NP connectors and group them around the first pipe. Fix the connectors by placing an bolt and an nut in the corresponding openings until it's firmly attached to the pipe. Make sure to place the bolts on the most accessible side.
- Group the two H-14NP connectors around the third pipe, and insert the first pipe with attached H-6NP connectors in between the H-14NP connectors through corresponding openings. Fix the connectors by placing an bolt with an nut in the corresponding openings and loosely tighten. Make sure to place the bolts on the most accessible side.
- Repeat step 3 with the second pipe on the opposite side of the H-14NP.
- Position the first and second pipes into desired angles and tighten completely until until the H-14s are firmly attached to the H-6 connectors.
 English CA
  Français CA
  English US
  Español US


