English CA
  Français CA
  English US
  Español US


SKU
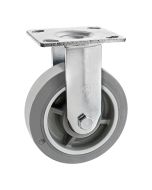
W-4PF
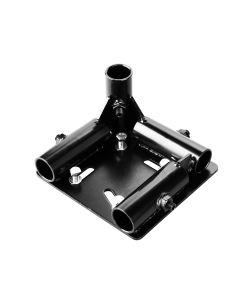
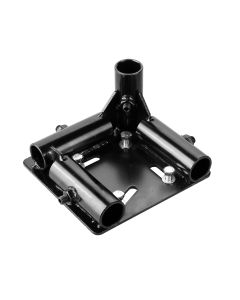
4" Rigid Plate Caster
- 4 inches (100 mm) diameter wheel
- 285 pounds (129 kg) loading capacity
- 2.5Mph maximum speed
Also Available:

CDN$12.61
(CDN$12.61 each)
Total Qty:
1
Farnham:
344
344 units in stock
Location details

The 4" casters are made for carts weighting more than 400 pounds, larger carts that are greater than 24" wide and 48" long, longer trips that don't exceed 100 feet maximum, and higher frequency trips. This is ideal for use in mobile carts and material handling solutions.
- All casters are equipped with a precision ball bearing.
- Loading capacity of 285 pounds (129 kg)
- Maximum speed of 2.5 Mph (4.02 Km/h)
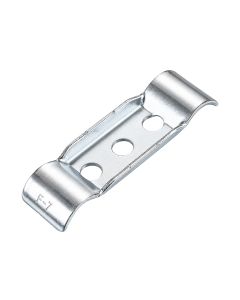
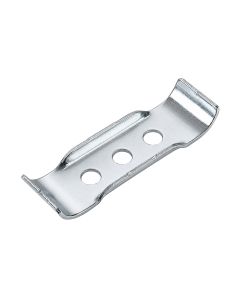
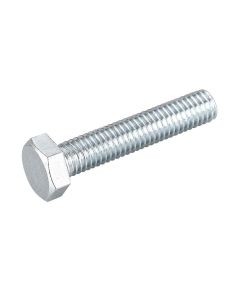
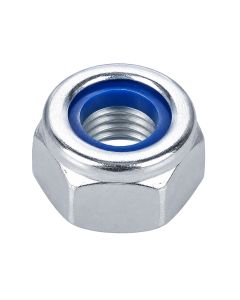
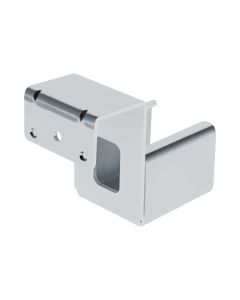
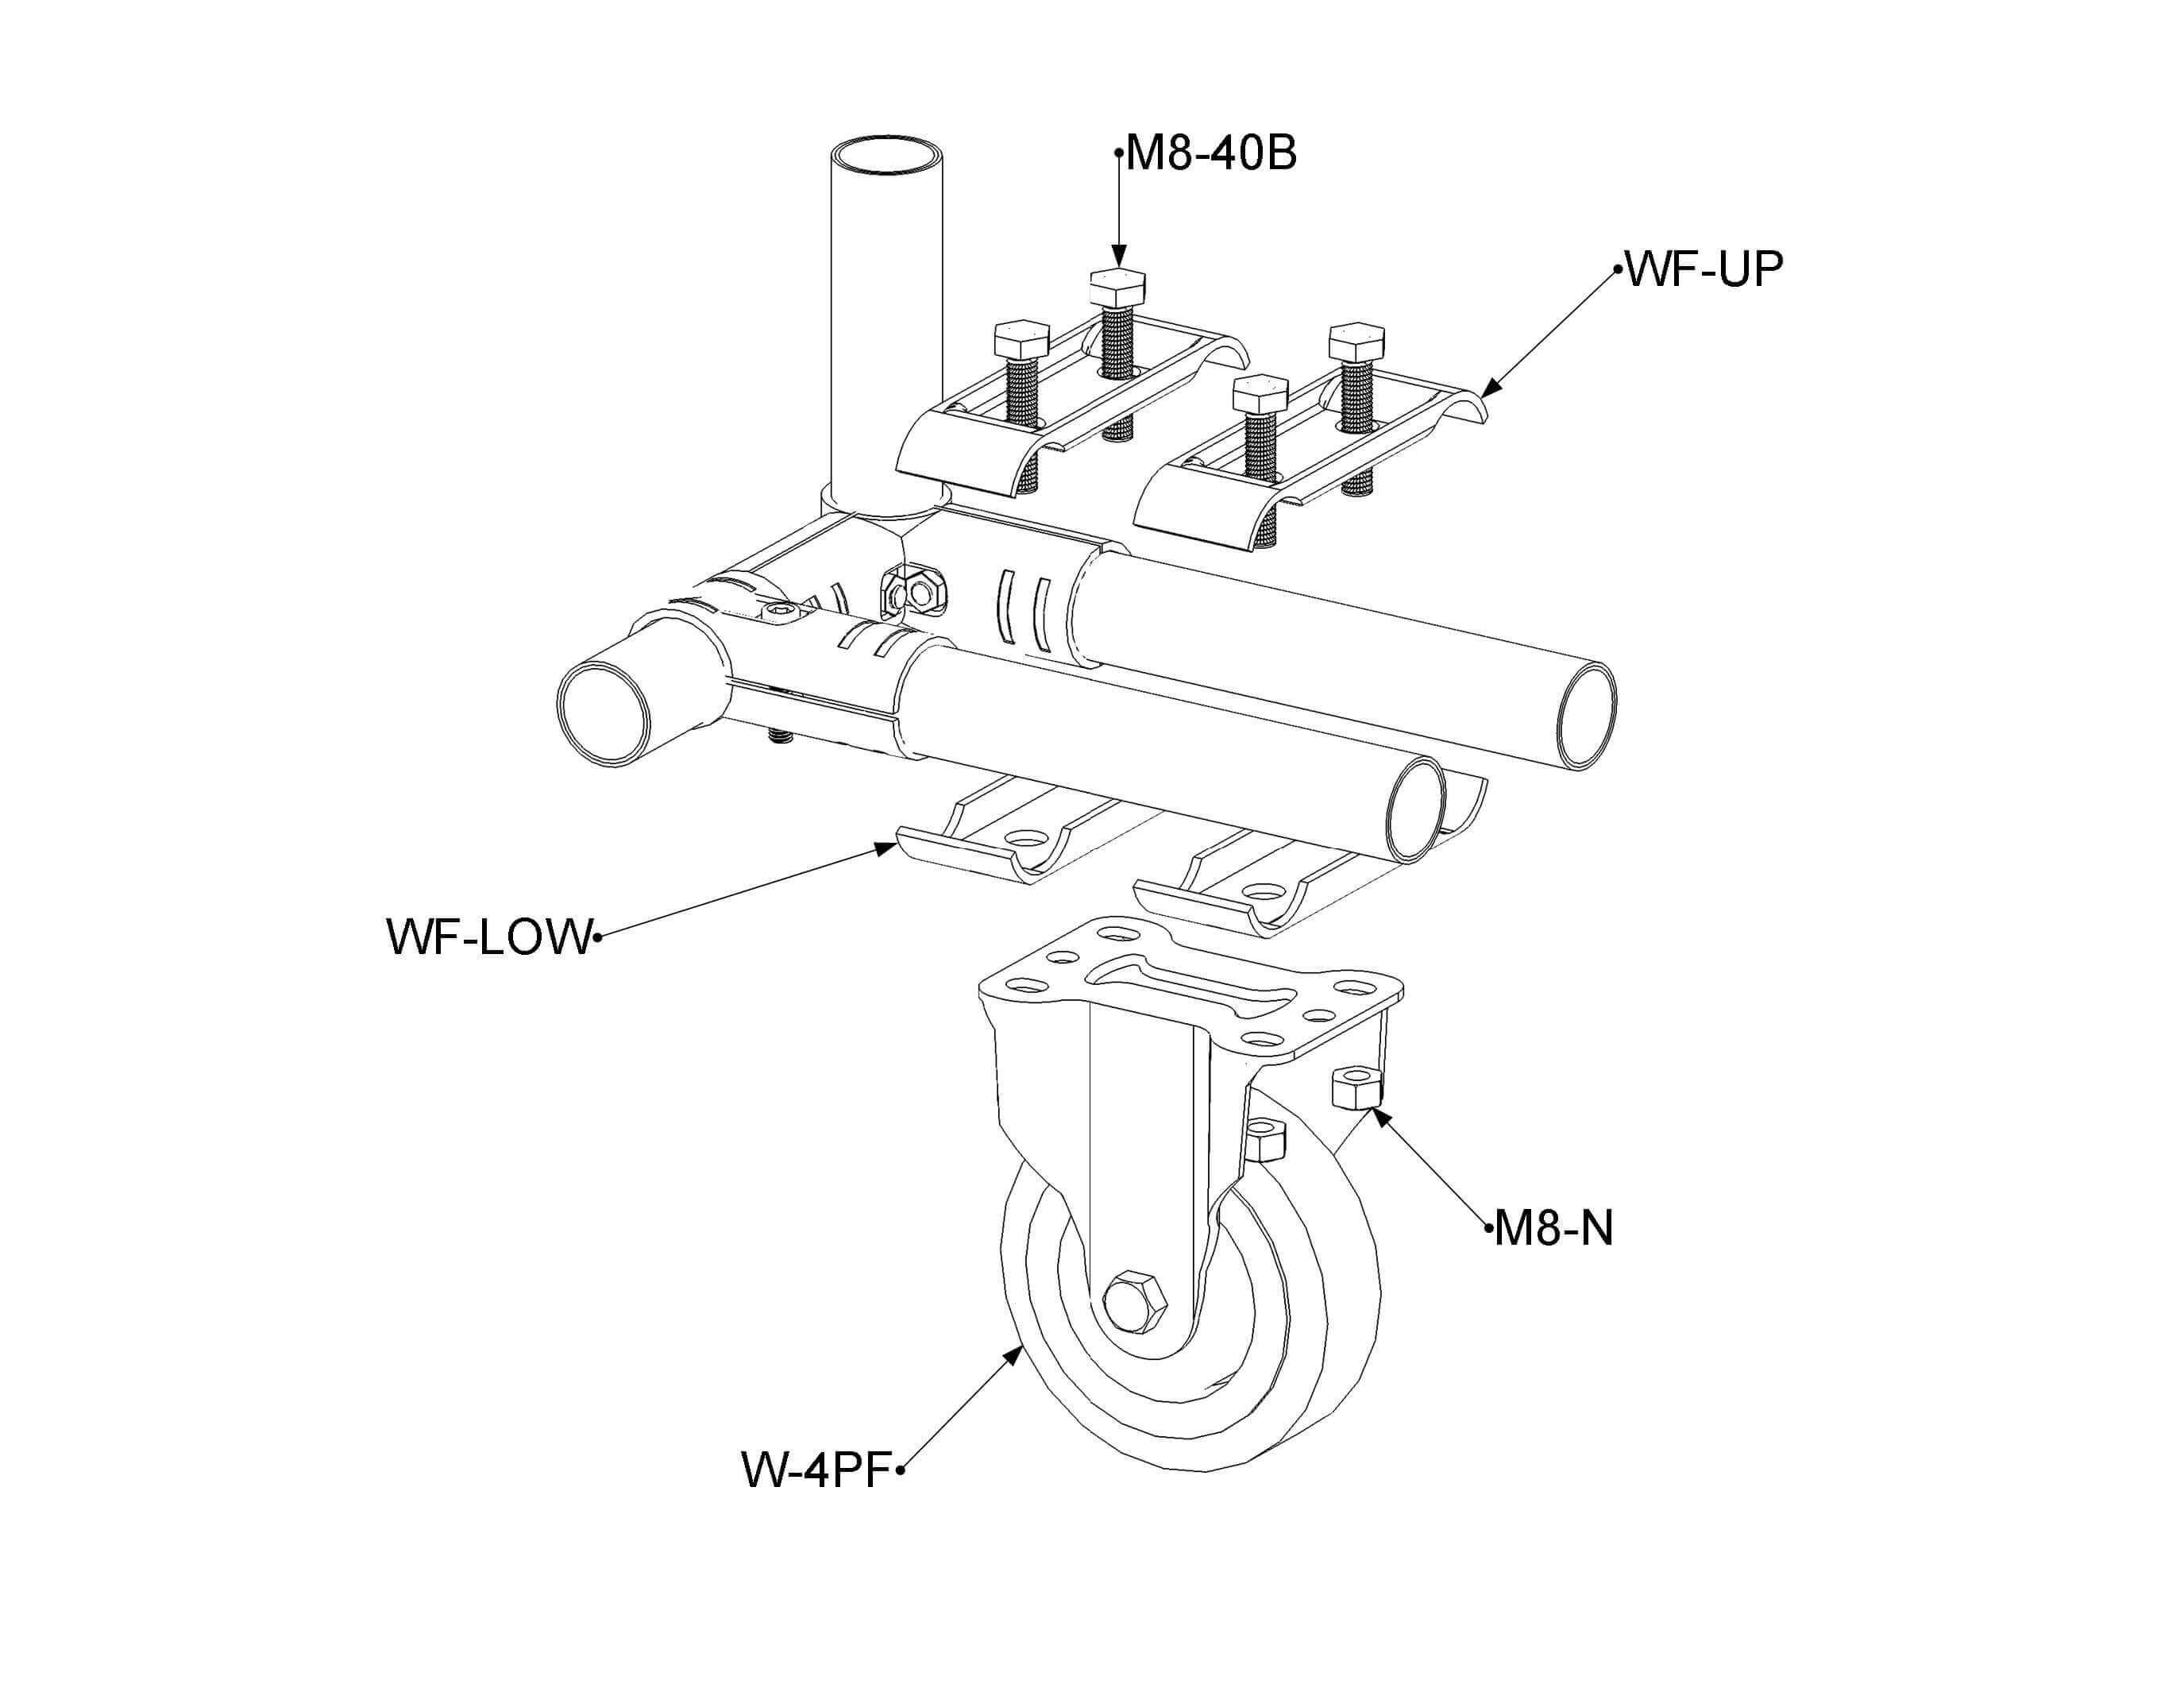
- To secure caster to your structure, you'll need to have (2) Caster Up Brackets (WF-UP), (2) Caster Low Brackets (WF-LOW), (4) M8 x 35mm Bolts (M8-35B), and (4) M8 Nuts (M8-N).
| Box Quantity | 40 |
|---|---|
| Height | 5 1/8 in (130 mm) |
| Weight | 1.08 lb (0.49 kg) |
| Box Dimensions | Cardboard box of 18 X 11 X 12 in (460 X 280 X 300 mm) |
| Primary Material | Thermoplastic Rubber (TPR) |
| Temperature Resistance | -22°F to 158°F (-30°C to 70°C) |
| Electric Conductivity (ESD) | No |
| Loading Capacity | 250 lb (113 kg) |
- Ensure you have the following parts:
- 1x W-4PF
- 2x WF-UP
- 2x WF-LOW
- 4x M8-35B
- 4x M8-N
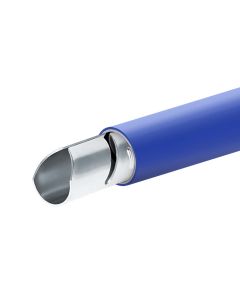
- 2x 28mm pipes of your choice
- 1x Wrench
- 1x Ratchet
- Ensure that the structure is leveled when supported by the pipes that will be wheeled. Otherwise, the height difference might cause the structure to sway.
- Flip the structure for better access to the bottom pipes.
- Ensure the pipes are parallel and have 3 1/4 in of center spacing.
- Place the two WF-LOW perpendicular on the pipes.
- Place the caster on both WF-LOW and align the openings.
- Take one WF-UP and regroup it with one of the WF-LOW.
- Take two M8-35B bolts and two M8-N nuts and insert them into the corresponding openings. Then lightly tighten them together.
- Repeat steps 6 and 7 for the other WF-UP and the bolts and the nuts remaining.
- Tighten completely the four M8-35B bolts and the four M8-N nuts in a cross pattern.
products you may also need